Herbal Drinks and Treats for the Holiday Season
Okay, guys. We’ve got a special treat for you today! We are very excited to share with you some of our absolute favorite (and delicious) drinks and treats to celebrate your holiday season.
Even better, these are drinks you’ll want to enjoy during the entire winter season! With the colder weather moving in, there is nothing better than enjoying a warming drink. Or even a special treat for yourself during those long, dark winter days.
Now, because these are easy to make, you’ll definitely want to share with friends and family. They really do make wonderful gifts to give! But we are almost certain you’ll want to save some for yourself, too. Hey, you’ll have to do a taste-test anyway before you gift them, right?
And, as with our bath and body gift guide, these recipes are perfect for gift giving because you can personalize them – if you choose to do so. You can use your own herbs and herbal combinations to suit your needs and tastes. Be creative – and if you are wondering what combinations you can use, check out a useful resource, like this book, that shares tons of ideas on using herbs creatively in the kitchen and bath/body items! You’ll be sure to get a few ideas by taking a look at her recipes.
You’ll also know exactly what goes into your drinks and treats when you make them yourself. And that’s always an added bonus of comfort when giving these special items as a gift.
So, if you are looking for a delicious, warming drink or a special treat, here are our top cheerful recipes that you’ll absolutely love to indulge in during these long, winter months!
HERBAL CHOCOLATE TRUFFLE RECIPE
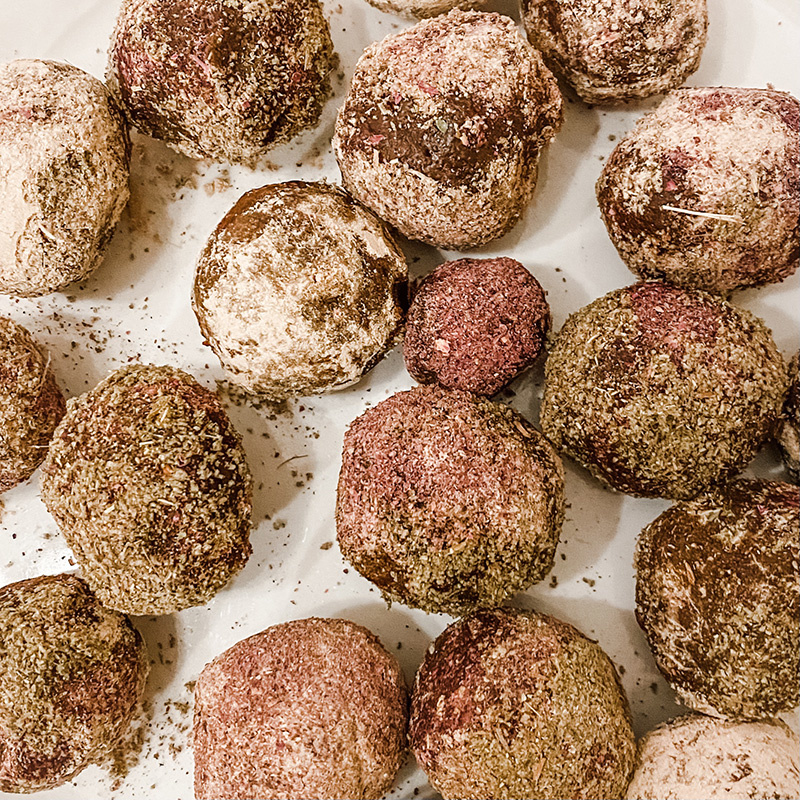
We are going to start out here with a classic holiday treat – the chocolate truffle! Rather than going the store-bought way, you can individualize this recipe to make use of almost an herb. But our favorite, go-to herbal additions for these chocolate truffles are a mixture of Ashwagandha, Cinnamon, Rose and Damiana. These herbs simply pair wonderfully with the rich chocolate flavor.
There are also two methods of getting the herbal addition to your chocolate truffle.
Method 1: Cream infusion.
If you want to add your dried herb and roots directly to the warm cream and melted butter, you’ll do this at the end of Step 1 below. Simmer (but don’t boil!) on low heat for a maximum of 20 minutes with the lid on. For this method, you do not need to powder the herbs.
Some things to consider: Just know that dried herbs and roots tend to absorb a lot, so be sure to adjust for the quantity lost in the herb. In other words, we recommend you start with more than 1/3 cup of cream. Once you have infused the herb or herbs into the cream, a cheese cloth works well for straining.
We recommend that if you want to infuse larger amounts of cream with an herb, use the general ratio of 1 Tablespoon of herb for each cup of cream. You’ll almost certainly find something to use the remaining cream in, like in an herbal hot chocolate.
Method 2: Powdered herbs.
You can also add the herbs or herbal combination directly to the melted chocolate, but make sure they are finely powdered. This can be achieved by pulsing them in a coffee grinder on the ‘fine’ setting. Additionally, we recommend adding no more than 6 Tablespoons of powdered herbs to this recipe, otherwise you risk the truffles being too dry. Again, be creative here! Use any powdered herbs, roots, or spices that you like.
Classic Truffle Base Recipe
Here’s what you’ll need:
1/3 C Heavy Cream**
6T Butter
2 C (8oz) High Cocoa content chocolate chips or bar pieces
Instructions:
1. Over medium heat, bring Cream to a simmer. Do not boil the cream. Add butter and melt.
*Infuse Cream with herbs here if using Method 1, as described above.
2. Remove from heat and strain out herbs using a cheese cloth of fine mesh strainer and re-measure. Add more butter and cream to reach the needed 1/3 Cup, if needed, before stirring in semi-sweet chocolate.
*Add powdered herbs here if using Method 2, as described above.
3. Whisk continuously until the chocolate has melted to create a silky consistency, pour into a container so that chocolate is 2-3” deep. Place in the fridge until firm.
4. Once firm, scoop with a spoon and roll (with cool, dry hands) into 1-1 ½” balls.
5. As a final touch, roll balls in cocoa powder, coconut flakes, sea salt, powdered chai, or the powdered herbs to name just a few options.
**Want a vegan option? Then switch out the heavy cream for coconut cream and switch the butter out for coconut oil. You can make your own coconut cream by pulsing 1 Cup of shredded coconut in a blender and then adding 2 -3 Tablespoons of coconut oil.
CHOCOLATE DIPPED CRYSTALIZED GINGER
Without a doubt, chocolate-drizzled crystalized ginger is an absolute must for the winter season. Ginger is a warming herb and is wonderful for those of us that have a hard time staying warm in the winter season.
This particular recipe can be made in a jiffy if you need something quick. But, if you have a bit more time on your hand, then consider personalizing the melted chocolate with a powdered herb. Similar to the recipe above, you can add a powdered herb to the chocolate before dipping or drizzling the ginger with the chocolate.
We recommend melting the chocolate in a double boiler with an additional 1 Tablespoon of coconut oil. Once both are melted, then add up to 2 Tablespoons of finely powdered herb.
What herbs should you add? We recommend powdered ginger for an added ginger punch, cayenne pepper for a spicy kick, or even cinnamon, turmeric, or cloves. Each of these herbs are a warming herb so you’ll be getting double action! Again, be creative and find a combination or single herb that suits your needs.
Here’s what you’ll need:
1-2 cups chopped, high-quality, dark chocolate
30-50 pieces crystallized ginger
Wax Paper
Double Boiler
Powdered herbs
Here’s how to make it:
1. Pour water into base of a double boiler. Heat water as you roughly chop the bars of chocolate. Also, place the crystalized ginger pieces on a sheet of wax paper.
2. Place chocolate into upper portion of double boiler. Once water is boiling, set the smaller pot onto the base over the boiling water. Stir chocolate consistently. (Keep a close eye on your chocolate. DO NOT allow chocolate to boil!)
3. If you want to add powdered herbs to chocolate, do so once the chocolate and additional tablespoon of coconut oil have fully melted. Mix until thoroughly incorporated.
3. Once fully melted, and powdered herbs have been added, if wanted, remove upper pot from double boiler. You can either dip ginger pieces directly into chocolate or drizzle the chocolate over the ginger pieces, as desired.
4. Let the chocolate-covered ginger rest on the wax paper to cool and harden.
5. Once all ginger pieces have been dipped and cooled, put into decorative bags, jars, or tins to give as gifts. Be sure to keep a few for yourself!
GROWN-UP COCOA MATE
As the name suggests, this is a wonderful adult beverage. If you aren’t familiar with it, Yerba Mate tea does contain caffeine, so that’s why we recommend this only for adults. But it wonderfully serves as the base for this delicious, winter-themed drink.
As a gift, you can make single-servings and place them into handmade tea bags. A quick google search will give you several useful guides that can show you how to make your own tea bags by using things like coffee filters or even pieces of cheese cloth. Take a look to find an idea that suits your needs.
Alternatively, you can easily multiply this recipe and place into a clean, glass jar with pretty wrapping. We recommend adding 1½ Tablespoons of the tea mixture per 8 ounces of water.
Here’s what you’ll need:
1 Tablespoon Yerba Mate
1 teaspoon powdered cacao nibs
1/2 teaspoon Orange Peel
1/2 teaspoon Spearmint leaf
Optional sweetness: 1/4 teaspoon Stevia, honey or sugar
Here’s how you’ll make it:
For a single portion: Combine all the ingredients in a tea infuser, nest or bag and pour 1½ to 2 cups of boiling water over. Allow to steep for 3-4 minutes. This is also a great tea for adding a little milk if you desire. Enjoy!
For multiple recipes: Add all ingredients together in a bowl and mix thoroughly. If you want to add a touch of sweetness, add the stevia as well. Otherwise, instruct the recipient to only add honey and sugar as needed. Wrap in a clean, glass jar with pretty wrapping and label. You could also consider adding a unique tea strainer or tea pot as part of your gift!
MULLING SPICES FOR CIDER
Here is an easy alternative to making a mulled cider that anyone can enjoy – young and old. You can use single tea bags to spice up any apple cider, but we wanted to let you know how we use our Rooibos Chai Tea as a base for this mulled cider.
Our Rooibos Chai Tea already has cardamom, cloves, cinnamon, and ginger mixed in with the rooibos tea making it the perfect base for these mulling spices. Just add whole cloves and a few extra cinnamon chips or sticks and a bit of rosemary and rose hips and you’ve got yourself a wonderful immune boosting version of mulled cider.
If you want to give this as a gift, think about mixing the ingredients and placing them in a clean, glass jar. (Just make keep in mind that if you are gifting this recipe, it’s better to add the dried orange peel. The freshly sliced orange would make the other ingredients spoil if not immediately added to the juice or cider.) Decorate accordingly with instructions of what to do and your recipient will be sure to enjoy this on a cold day.
Here’s what you’ll need:
3 Cinnamon Sticks or 2 t of cinnamon chips
4 Tablespoons Rooibos Chai Tea
1 Tablespoons whole allspice
1 freshly sliced orange or 2 Tablespoons of dried orange peel
1 sprig of rosemary or 1 Tablespoon dried rosemary
4 Tablespoons of rose hips or cranberries
Here’s how to make it:
1. Tie the above, dry ingredients into cheesecloth, a muslin bag or French press. If using dried orange peel, you can also add this to the tied cheesecloth or muslin bag.
2. Add 2 quarts (8cups) of apple juice or apple cider to a pot and bring to boil.
3. Reduce heat and add dry ingredients tied in the cheesecloth or muslin bag and the orange slices. Gently simmer on low heat for approximately 5-10 minutes. If you are using the large tea strainer, carefully pour the apple juice or cider into the French press. Let sit with lid on but not pressed for 20 minutes.
4. Serve into individual mugs once time has finished. Cinnamon sticks and orange slices can free float or be added to each individual mug to add a sweet touch. Yum!!!
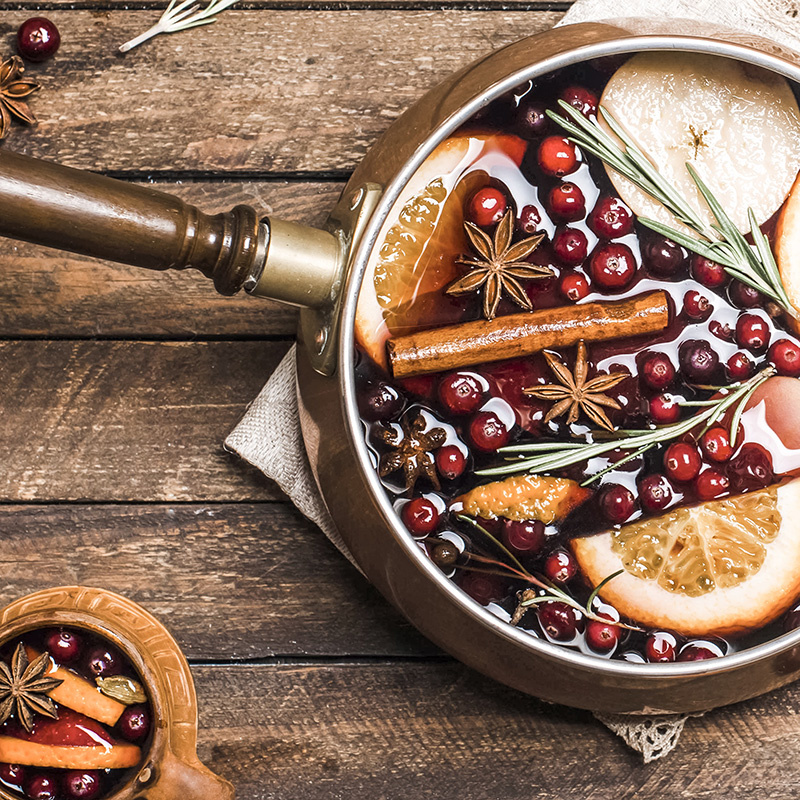
POMEGRANATE MULLED WINE
Now, here’s an absolute must for those long, cold winter days. If you don’t want to use wine, just substitute the wine for pomegranate-apple juice for an alcohol-free version that can be enjoyed all day long!
This can also still work as a gift. Simply choose the best, organic, and fresh ingredients you can find. Simply place them in a basket with a bottle of wine (or juice) and instructions of how to make the recipe. Think of it like a fruit basket with a twist! You might also consider adding one or two creative and handcrafted mugs, like these or these. Or perhaps gifting this with a beautiful serving pitcher like this one or this one.
Here’s what you’ll need:
one bottle red wine of choice
2 cups pomegranate juice
½ cup chopped, fresh ginger or 1 teaspoon dried
1 tablespoon cloves
Optional: 1 cup honey, or elderberry syrup to taste
Optional: One whole fresh pomegranate, peeled and separated
Optional: Additional pomegranates, orange slices, apples or other fruit for garnish
Optional: add additional herbs such as fennel or elderberry
Optional: 1/4 cup brandy
Here’s how you’ll make it:
1. Pour wine and pomegranate juice into a pot on the stovetop. Add the ginger and cloves.
2. Simmer gently for 15 minutes with the lid on, stirring occasionally.
3. If you want to add the additional sweetness of honey or the brandy then add those just before serving.
4. Serve in individual mugs and garnish with extra pomegranate and other fruits, as desired.
HERBAL HOT COCOA
Here’s a special twist on a regular cup of hot cocoa. And, if you have any of that infused cream from the chocolate truffles, be sure to add a splash for extra creaminess!
Here’s what you’ll need:
3 Tablespoons oatstraw
2 Tablespoons cacao nibs
1 Tablespoon macca powder
2 Tablespoons maple syrup
Here’s how to make it:
1. Place oatstraw, cocao nubs, and maca powder in a tea strainer or a French press.
2. Bring 6 cups of water to a boil. Once boiling, pour over the herbs and let is sit for 20 minutes. If you are using a French press, cover put do not press.
3. Once your 20 minutes is up, strain out the herbs into a tea pot. Stir in the maple syrup, if desired, and serve.
FERMENTED LEMON CRANBERRIES IN HONEY
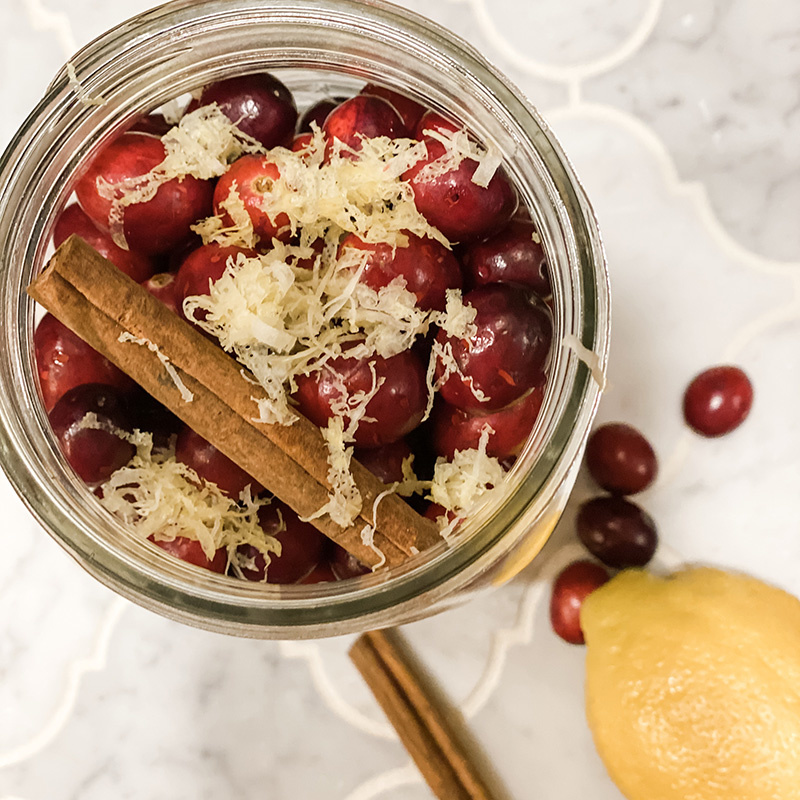
Now, here’s a recipe that you’ll want to try during the holiday season! Cranberries are a staple for most Thanksgiving and Christmas feasts so why not try a new alternative to the standard cranberry jelly.
There are many alternative flavor combinations that can used with this recipe. If you aren’t a fan of lemon, then consider trying something like this ginger, orange, and cinnamon option for Colleen at Grow Forage Cook Ferment. Either way, you’ll be sure to get a boost of Vitamin C from the cranberries and citrus plus the gut-healing benefits of fermented foods.
Here’s what you’ll need:
2-3 cups of fresh (not dried) cranberries
2 organic lemons; juice and some zest
1 cinnamon stick
Raw Honey (about 2 cups but enough to cover the cranberries)
24-ounce mason jar
Here’s how to make it:
1. You’ll want to poke each cranberry with a fork to break the skin. Alternatively, you could roughly slice them – just make sure all cranberries have their skin broken as this helps the fermentation process.
2. Fill the 24-ounce mason jar with the berries, juice from 2 lemons plus a few zests of lemon, and a cinnamon stick. There should be at least an inch of space between the tops of the berries and the top of the jar.
3. Fill the jar with honey. Allow the honey to percolate down through all the ingredients. If needed, keep topping off with honey until everything is covered.
4. Once berries are covered, then place a piece of parchment paper over the top and seal the jar with the lid. Turn the jar over a few times allowing the honey to filter through the ingredients once again. Loosen the lid and store in a dark place.
5. Every day or so, tighten the lid, turn the jar over a few times to allow the honey to move the ingredients, loosen the lid, and return to the shelf.
6. We recommend that you allow your honey and cranberry mixture to ferment for at least a week or for up to a month. The longer it goes, the better it will taste.
Pro Tip: Place the jar on a plate or in a bowl. Sometimes, the honey does leak and this help make the clean-up much easier!
So, there you have some simple, herbal drinks and food. Please be sure to tag us @homsted_lifestyle if you try any of our recipes!
Leave a comment
Recent articles
View all
10 Tips to Begin Foraging for Food or Medicine
A Sip Around the World: Tea Traditions Part 2
