Tips and Tricks to Starting Seeds Indoors
Starting your garden seeds indoors is a great way to get a jumpstart on your garden, especially in colder climates where your growing season is short.
Who else, besides me, is currently looking on their social media accounts and are starting to see people planting seeds into the ground, while I am here still shoveling snow? Well, no matter where you live you can start planting now. Since most of us can’t plant directly in the ground now, we can start planting indoors. I mean, we are already paying for our heating to warm our house so let's take advantage of it and start our gardens indoors!
For several years I kept getting discouraged because I would start my seeds indoors and they would always wither away and die. I would stick them in the window and put them out on warm days and they would die. I think most people can relate to this and they gave up. If you build strong plants from the beginning, I promise it will be worth it. Check out what we have learned to do and what not to do.
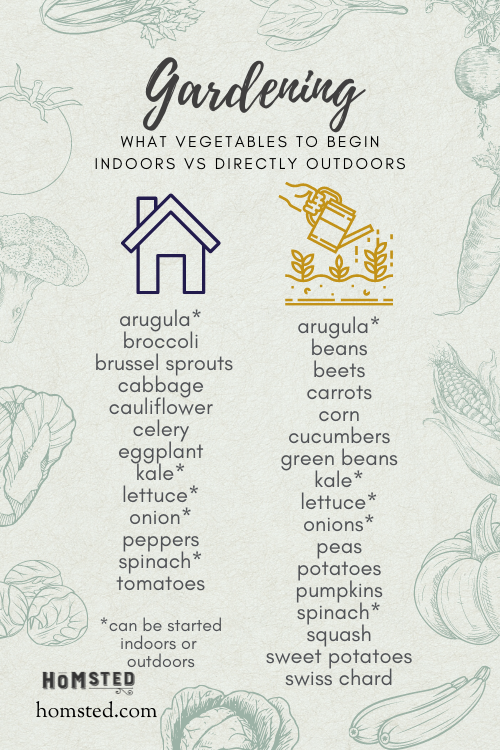
Not all seeds should be started indoors. Some plants just prefer to go directly in the ground (called direct sowing). So, before we start discussing how to start seeds indoors, let go over some plants to just wait for warmer weather with.
There are cold- and warm-season direct sow plants:
Cold Season Vegetables are vegetables that will survive an unexpected or early snow, frost or cooler weather. If you live in a cooler climate and are new to gardening than growing cold season vegetables is a great way to start. Some are very tolerable to the frost and snow while others such as broccoli, cabbage and cauliflower might tolerate a light frost, but typically need some cover protection when young.
Here is a list of cold season vegetables, that I would plant directly in the soil:
Collards
Kale*
Warm Season Vegetables are plants that are native to warmer climates and do not tolerate long-term cold weather. They require protection from cooler weather. Although you can get some varieties of these plants that are acclimated to colder climates, you will still need to be diligent about getting these young plants covered if frost is a possibility.
Here is a list of warm season vegetables, that I would plant directly in the soil:
Now that we know what seeds to set aside for direct planting outdoors, let's gather and come up with a plan for the ones we will plant indoors.
Vegetables to grow indoors:
Typically plants that have a slower root development are best started indoors such as cauliflower, celery, eggplant, and peppers. Also, plants that are more sensitive to cold such as tomatoes, eggplants, peppers, lettuce are best started indoors and transplanted once there is no chance of a late freeze.
Here is a list of plants I like to begin indoors:
cabbage
cauliflower
celery
eggplant
kale*
*these vegetables can also be directly grown outdoors or started indoors. Sometimes I start a few plants indoors and seed the rest outdoors. That way I have some plants further developed than the others so I can start eating those first while the ones started from seed are still growing.
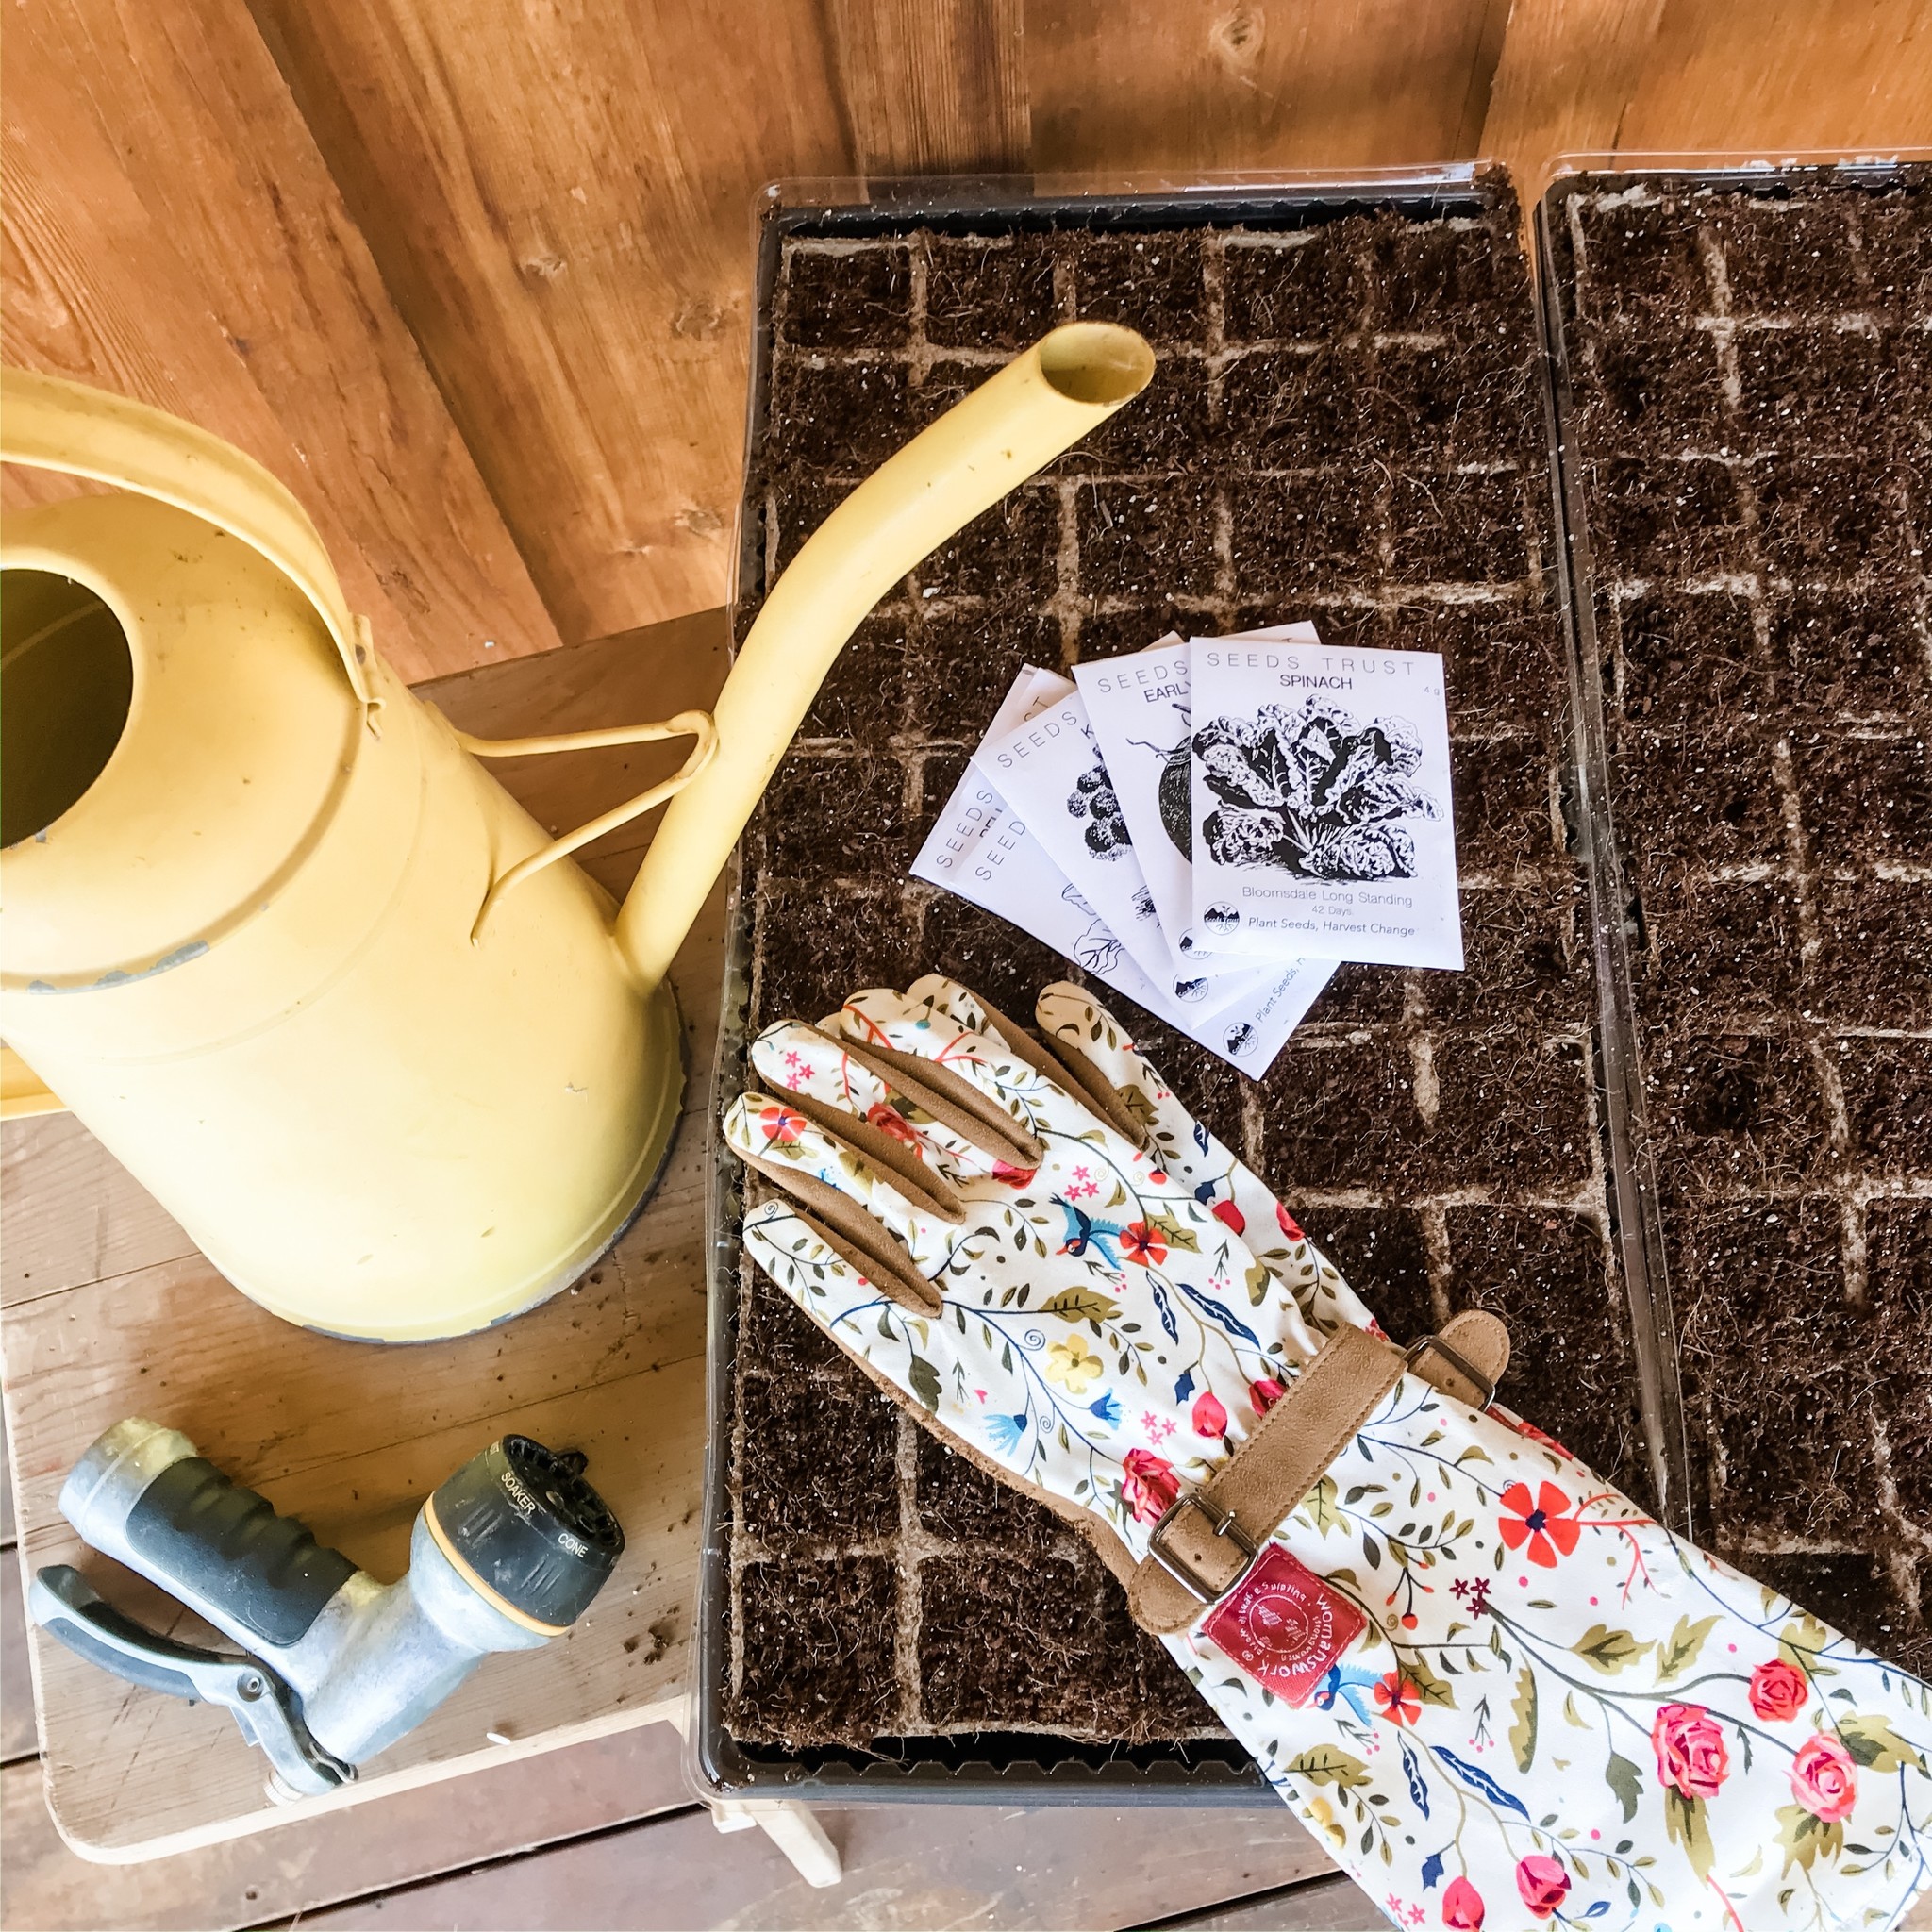
Setting up your seed station:
I first recommend setting up your growing station. That way you know how many pots and trays you have to plant into. The number of trays will also be determined on how many warming pads and the lighting you choose if you decide to go that route.
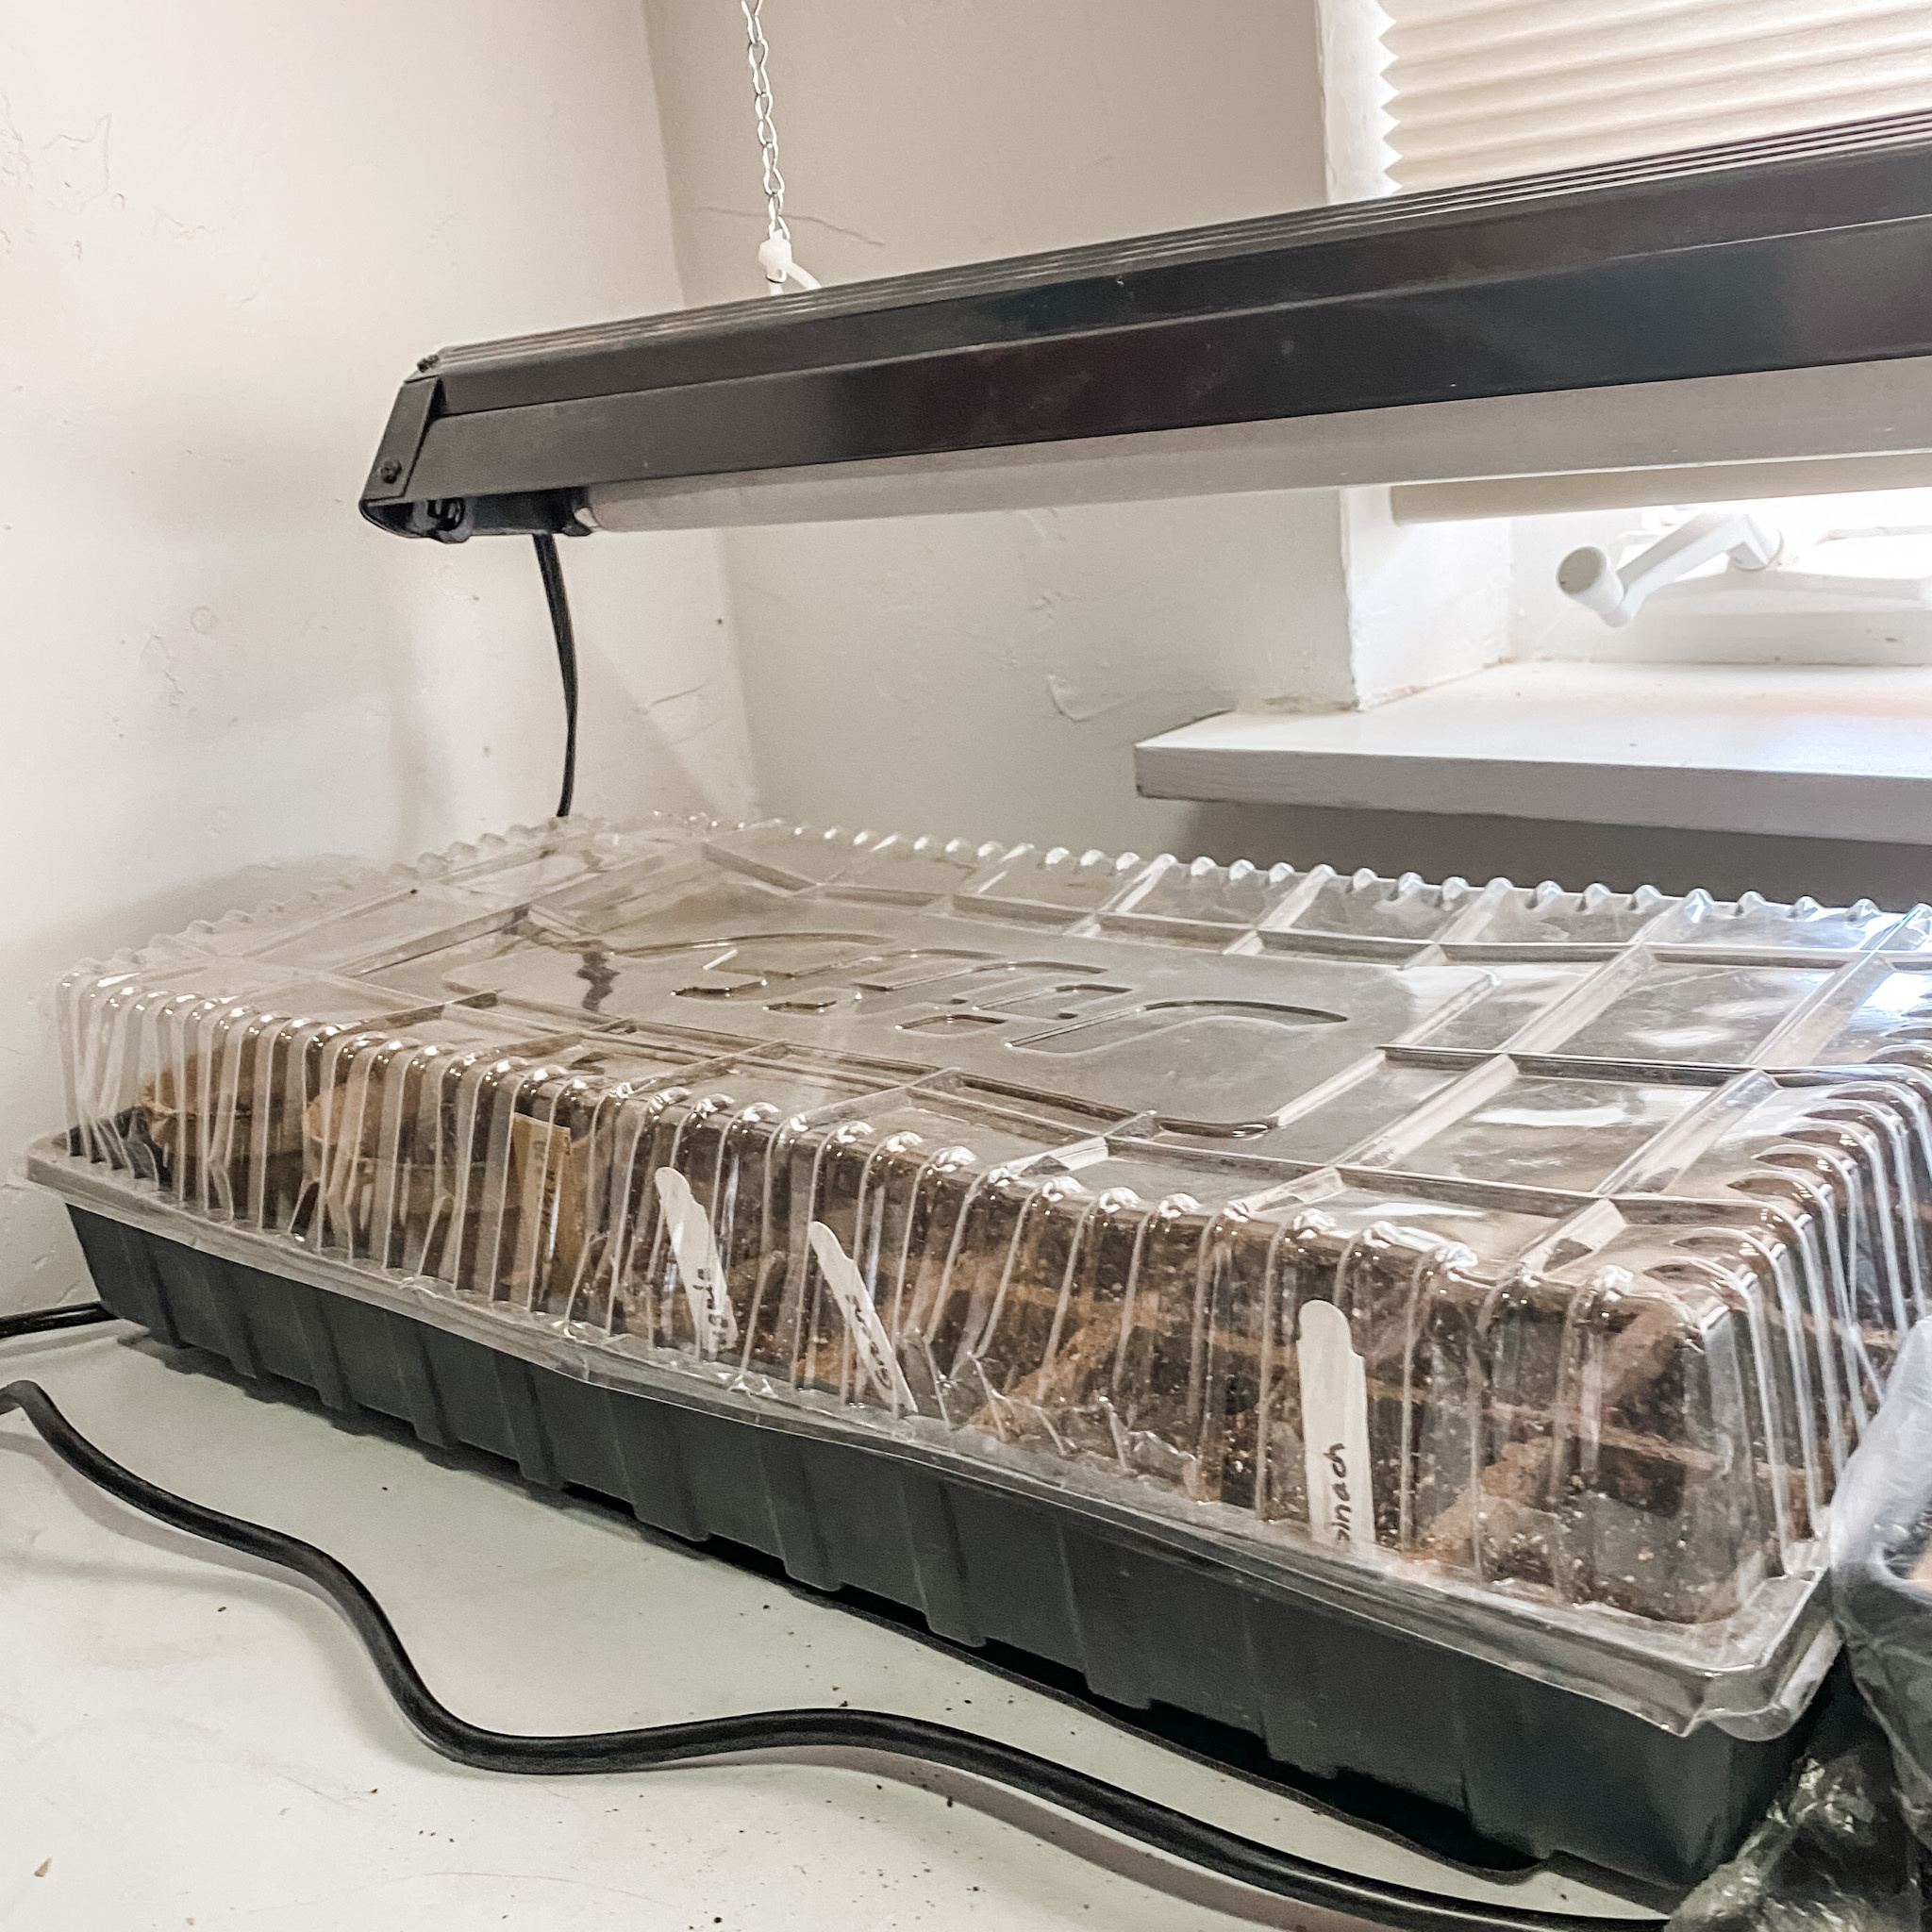
The lighting:
If you were like me at one point, and didn’t want to fuss with lights, just keep in mind that placing your plants in a south facing window can cause inconsistent temperatures. With it being cold outside and warm inside, extreme temperature fluctuations can occur. There is also the lack of daylight hours this time of year (especially at my house where we lose our sunlight behind a mountain at 3pm). Also consider that windows usually only transmit 25% of UV light. After years of heartbreak of shrinking, dying plants, I decided to fully commit and get some growing lights and warming mats. It was worth it.
Soil:
There are many different types of soils out there. I recommend buying a seed starting medium that you feel is the best choice for you. I typically buy a certified organic seed starting soil. Keep in mind if you buy a non-organic soil that has compost in it, chances are it contains herbicides. I like the seed starting soil vs potting and ground soil as it has good drainage and can help keep mold and fungus at bay.
Seeds:
Buying the right kind of seed is important. Did you know that 80% of the seed market is controlled by fewer than 10 transnational corporations? Of these, a vast majority are grown using chemical intensive techniques. That is why we supply organic, heirloom seeds that are hardy. To read more about our seed check out our blog: 4 Reasons to Buy High Quality Seeds.
When to start:
Many gardeners start growing indoors based on their last frost date. Not sure when that is? Click here to find out. Once you figure out the date, then I recommend putting your grow calendar together based on the recommendations on your seed packet.
The trays and pots:
Trays are nice as they can be reused over and over again. For the larger plants or plants I like to keep longer in the pots, I make my own with a wooden planter former. These are great as they just use newspaper and it can be planted directly in the ground. Not sure how to use one? Check out our video:
Planting:
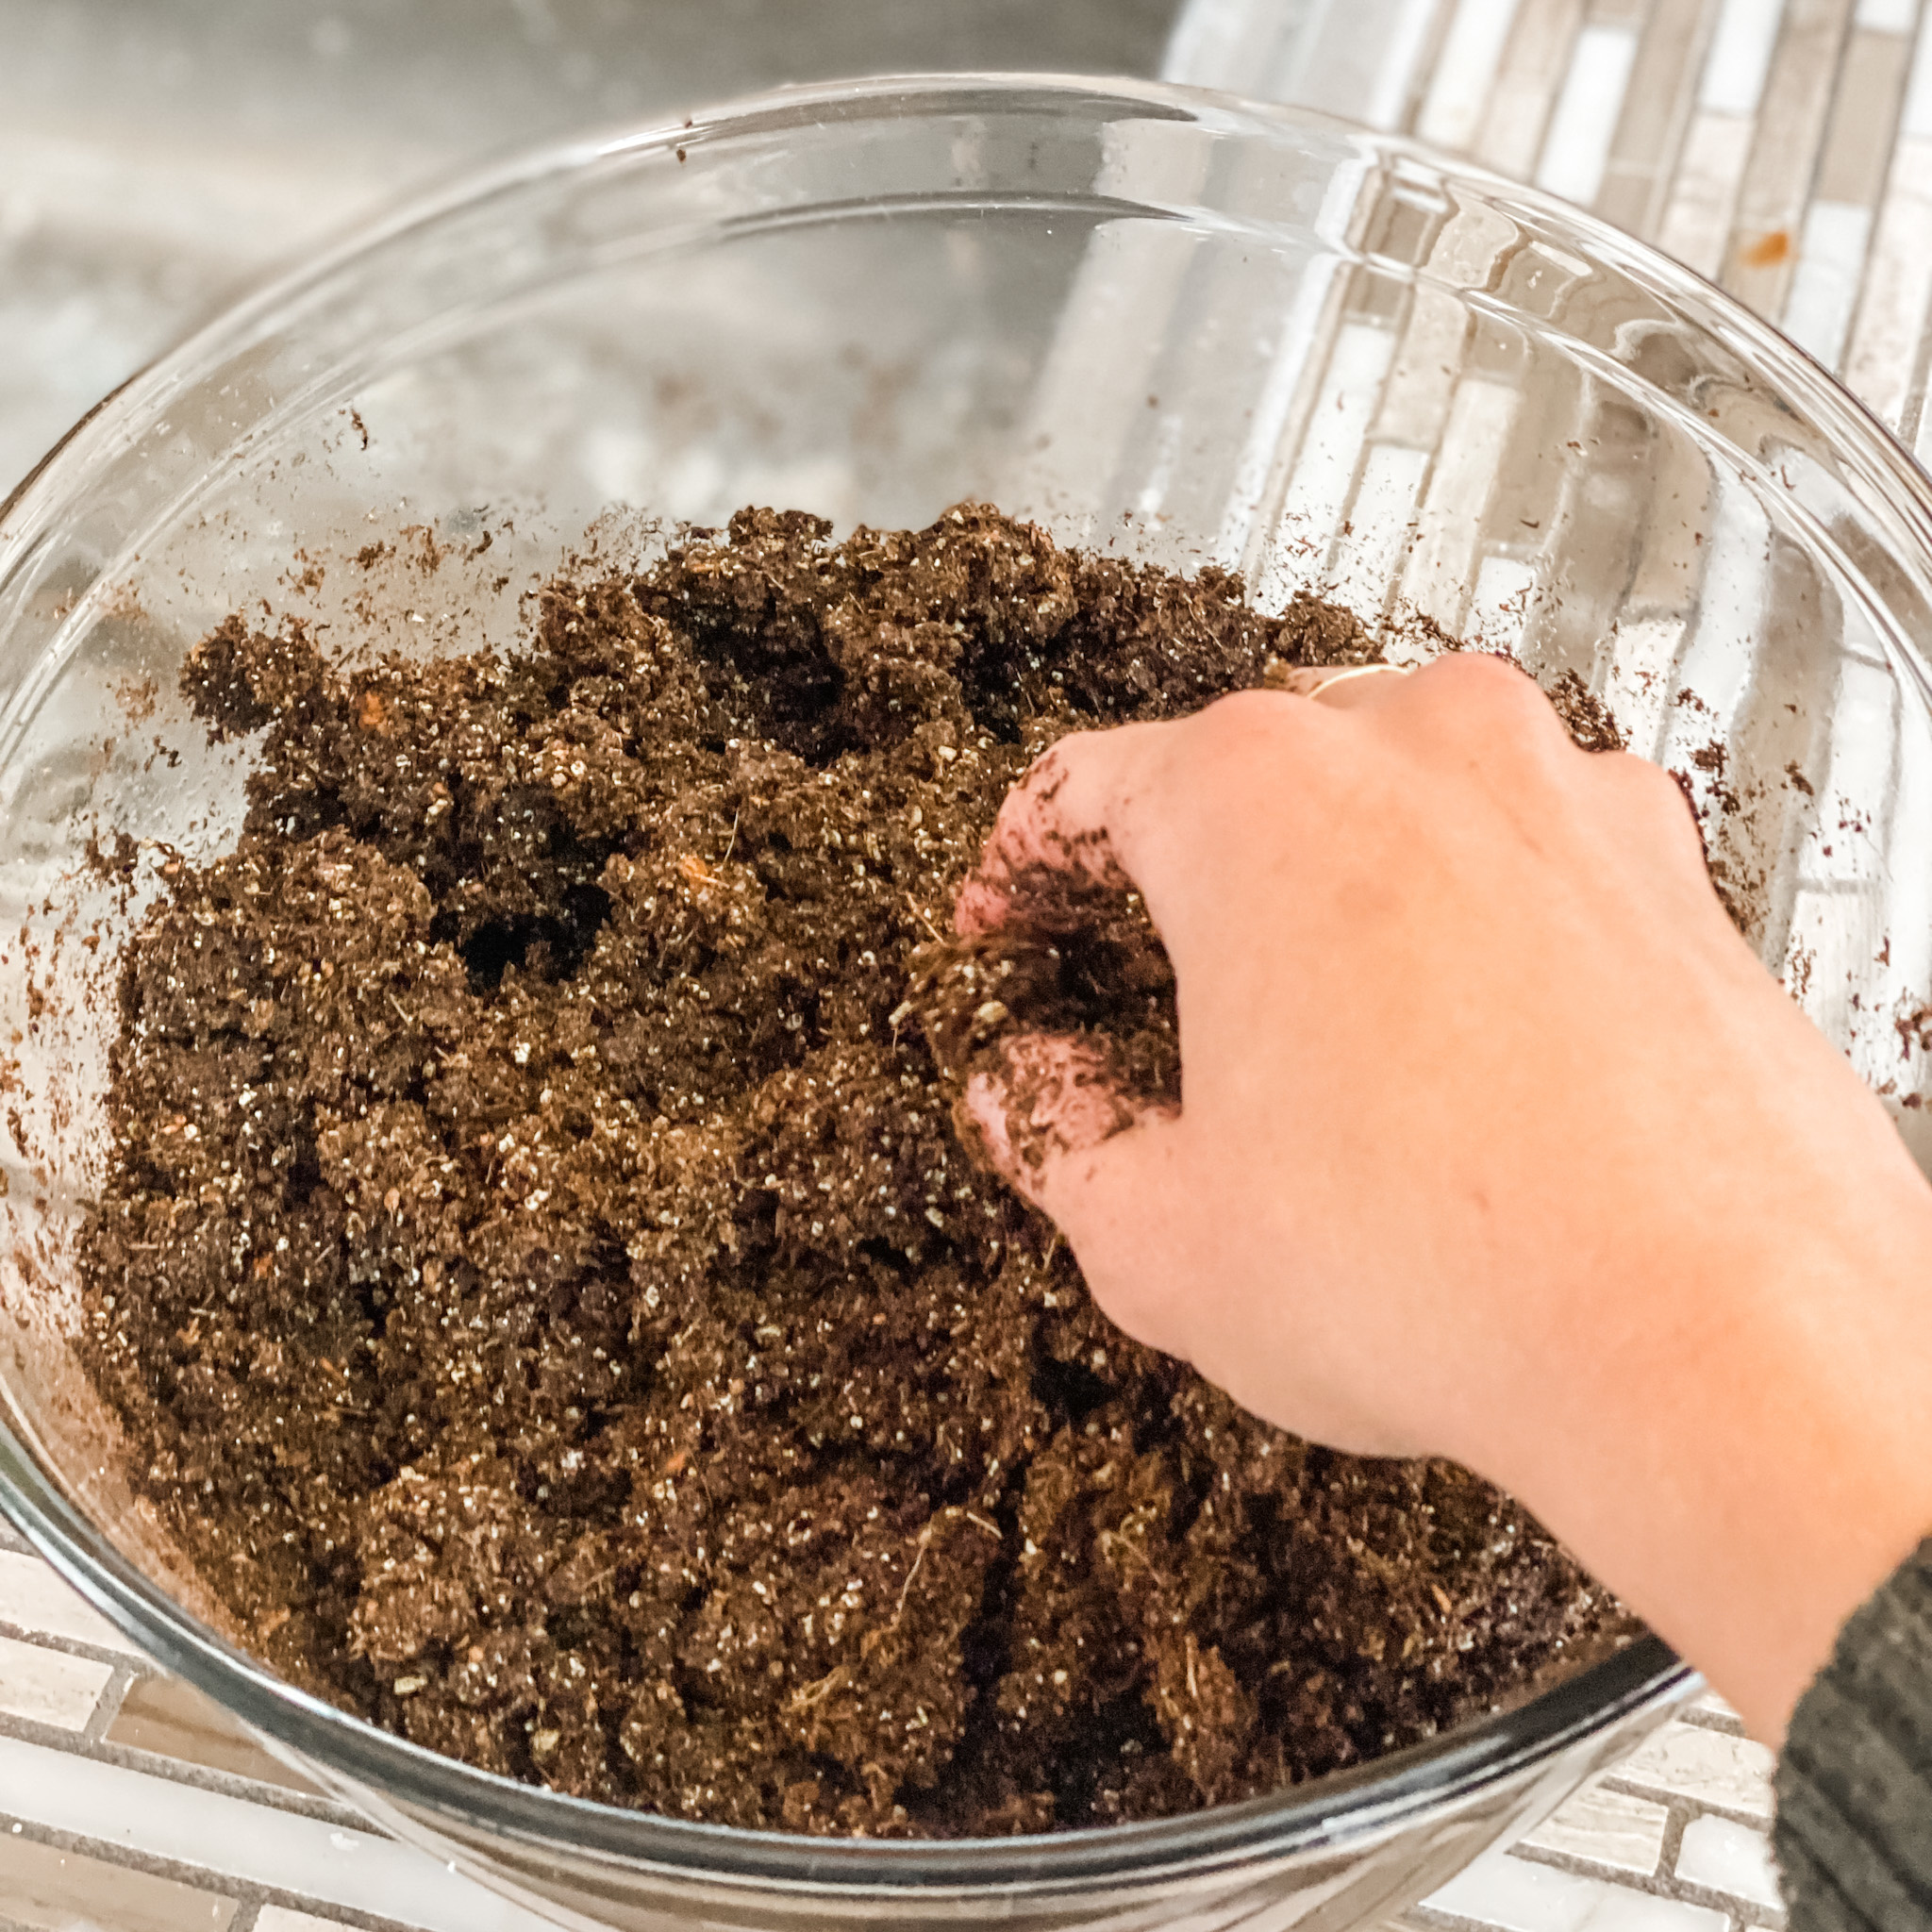
Before adding the soil to trays it is best to wet it first. I like to make it spongy, not too wet or too dry. Then, fill each cell or pot to the top loosely with the soil. Then pack it in firmly, so it is about ⅔ full. Then fill the rest of the cell a little looser (not packed down).
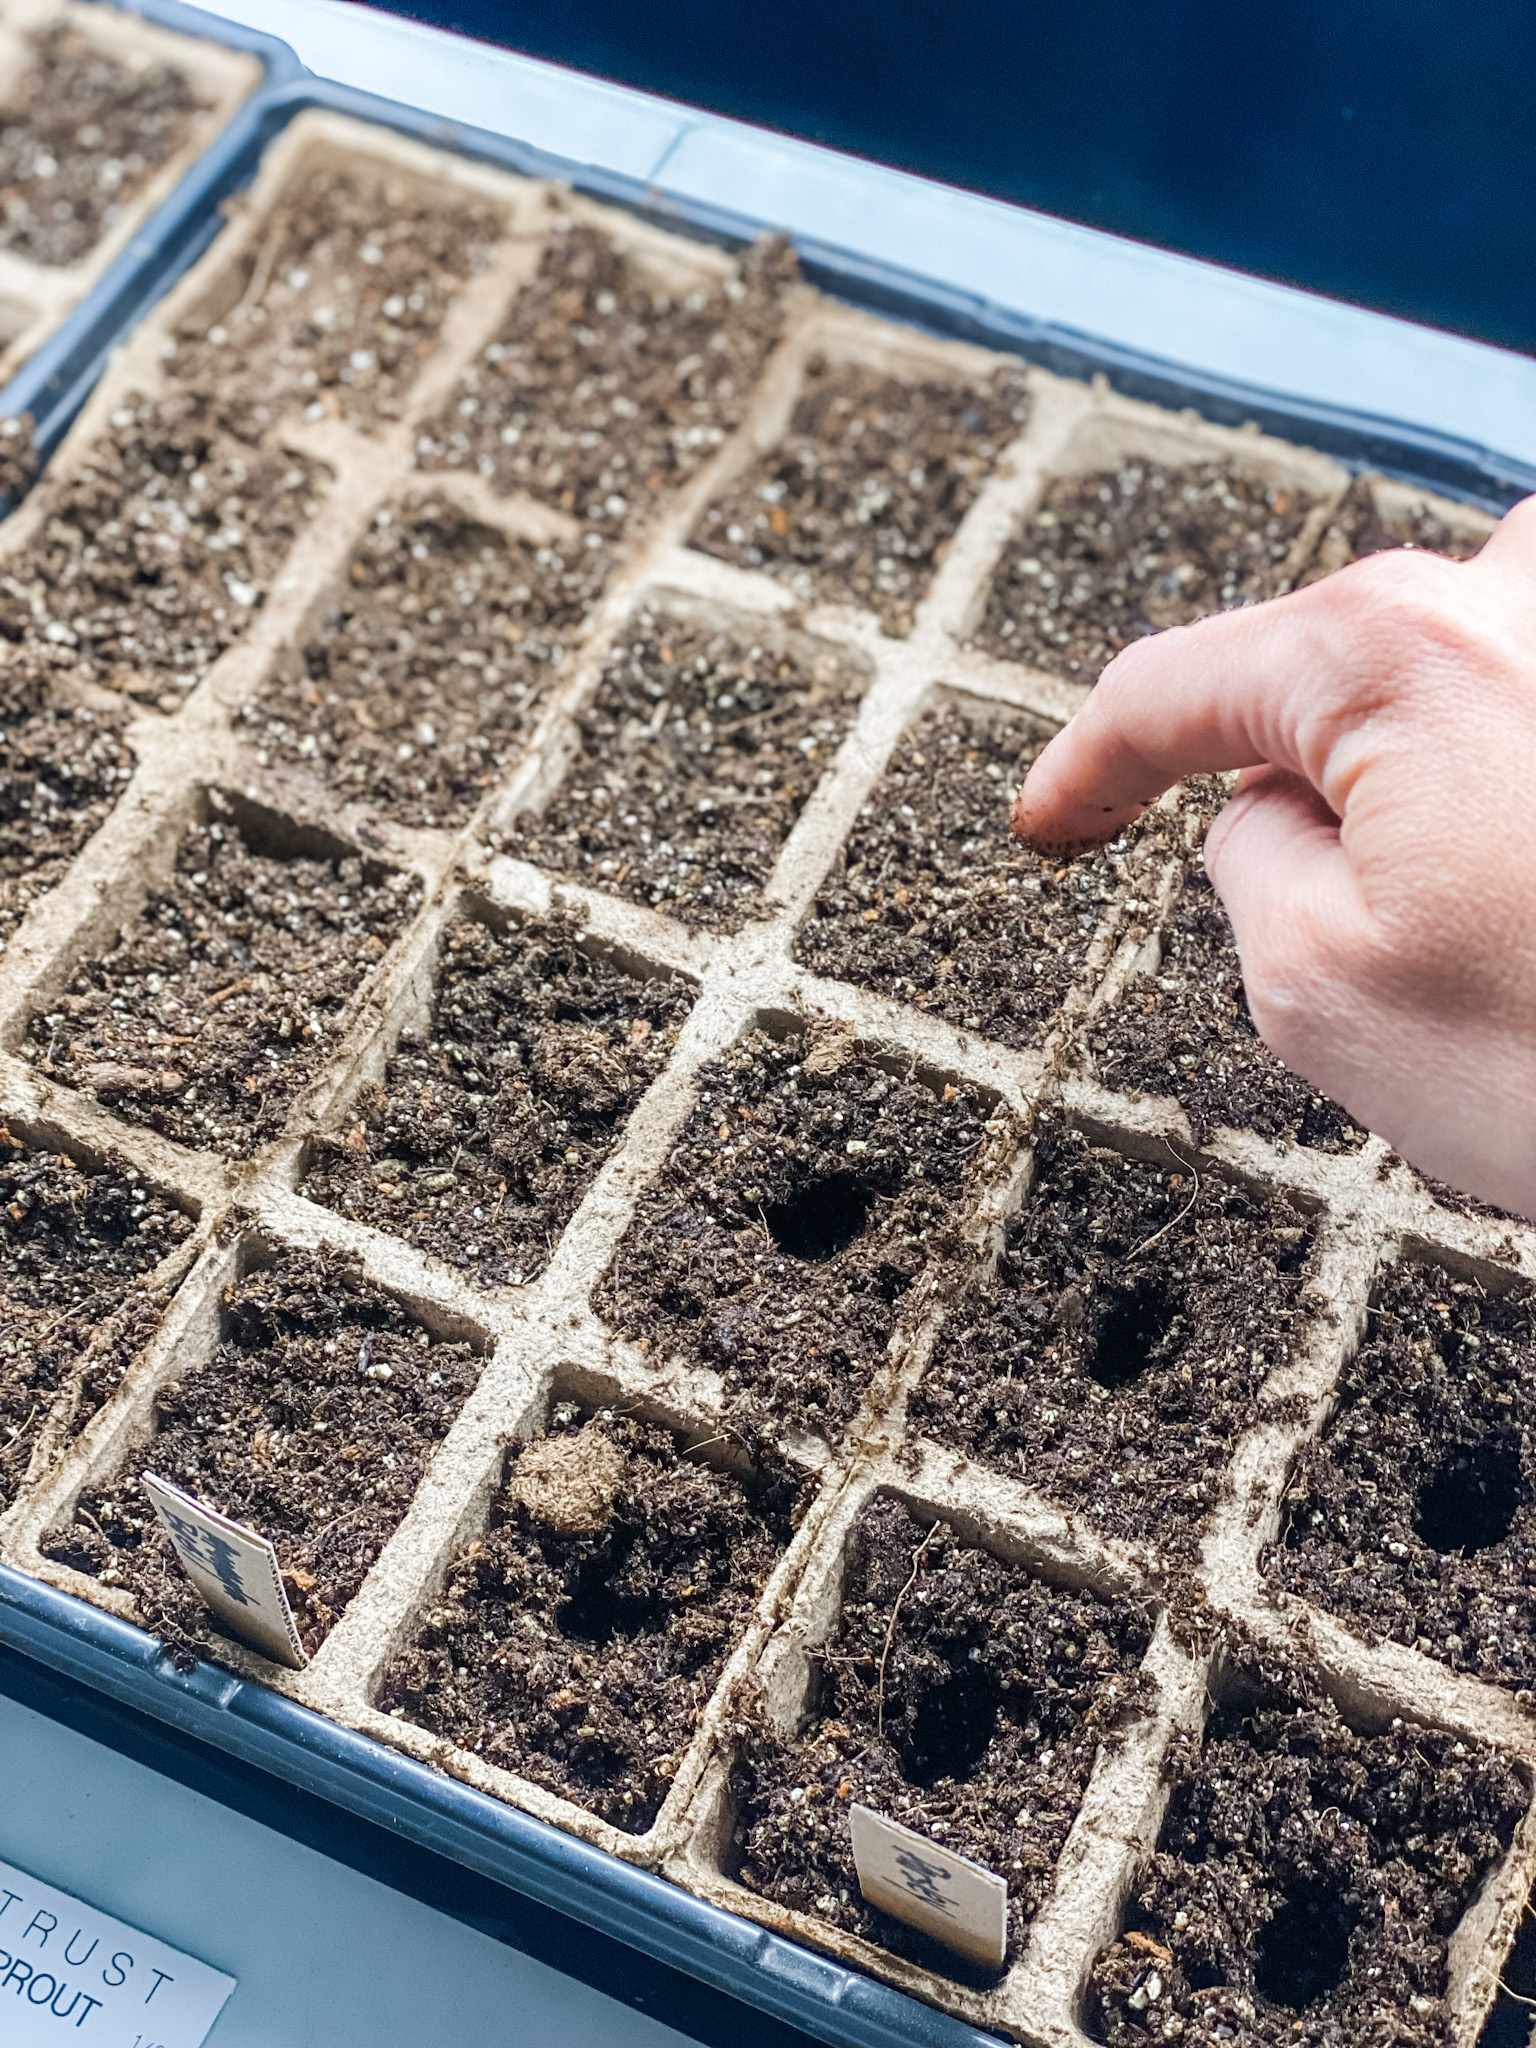
Once I fill my trays or pots with a dampened soil, I then decide where to plant the seeds. I like to lay out my seed packs in front of where I would like to plant them in the tray or pot. I then make little markers so I know what is growing where and place them in the soil. From there I poke a hole in the top of the soil with my finger. Plant seeds twice as deep as their size. Refer to the seed packet on how many seeds should be planted per hole, usually about 2 or 3. Then cover with a thin layer of soil. Some seeds like lettuce can be pushed into soil rather than buried.
Once planted I use a spray bottle to moisten the soil again. Then I place it on the warming mat and cover with a clear top or plastic wrap to keep the moisture in for germination. Once the seeds start to sprout, I remove the tops and turn on the light. The light should be kept on for about 12 to 16 hours a day and keep the light 2-3” above the tallest plant.
Once your seeds have sprouted and are under the lights you will need to check frequently for dry soil. Let the soil mix dry completely before adding water to reduce the chance of a fungal disease in seedlings from too much moisture.
Thinning:
Once they have sprouted they will need to be thinned. I suggested picking the smaller ones out after they produced the second set of leaves. This allows the single plant the room and nutrients it needs to thrive.
Hardening off:
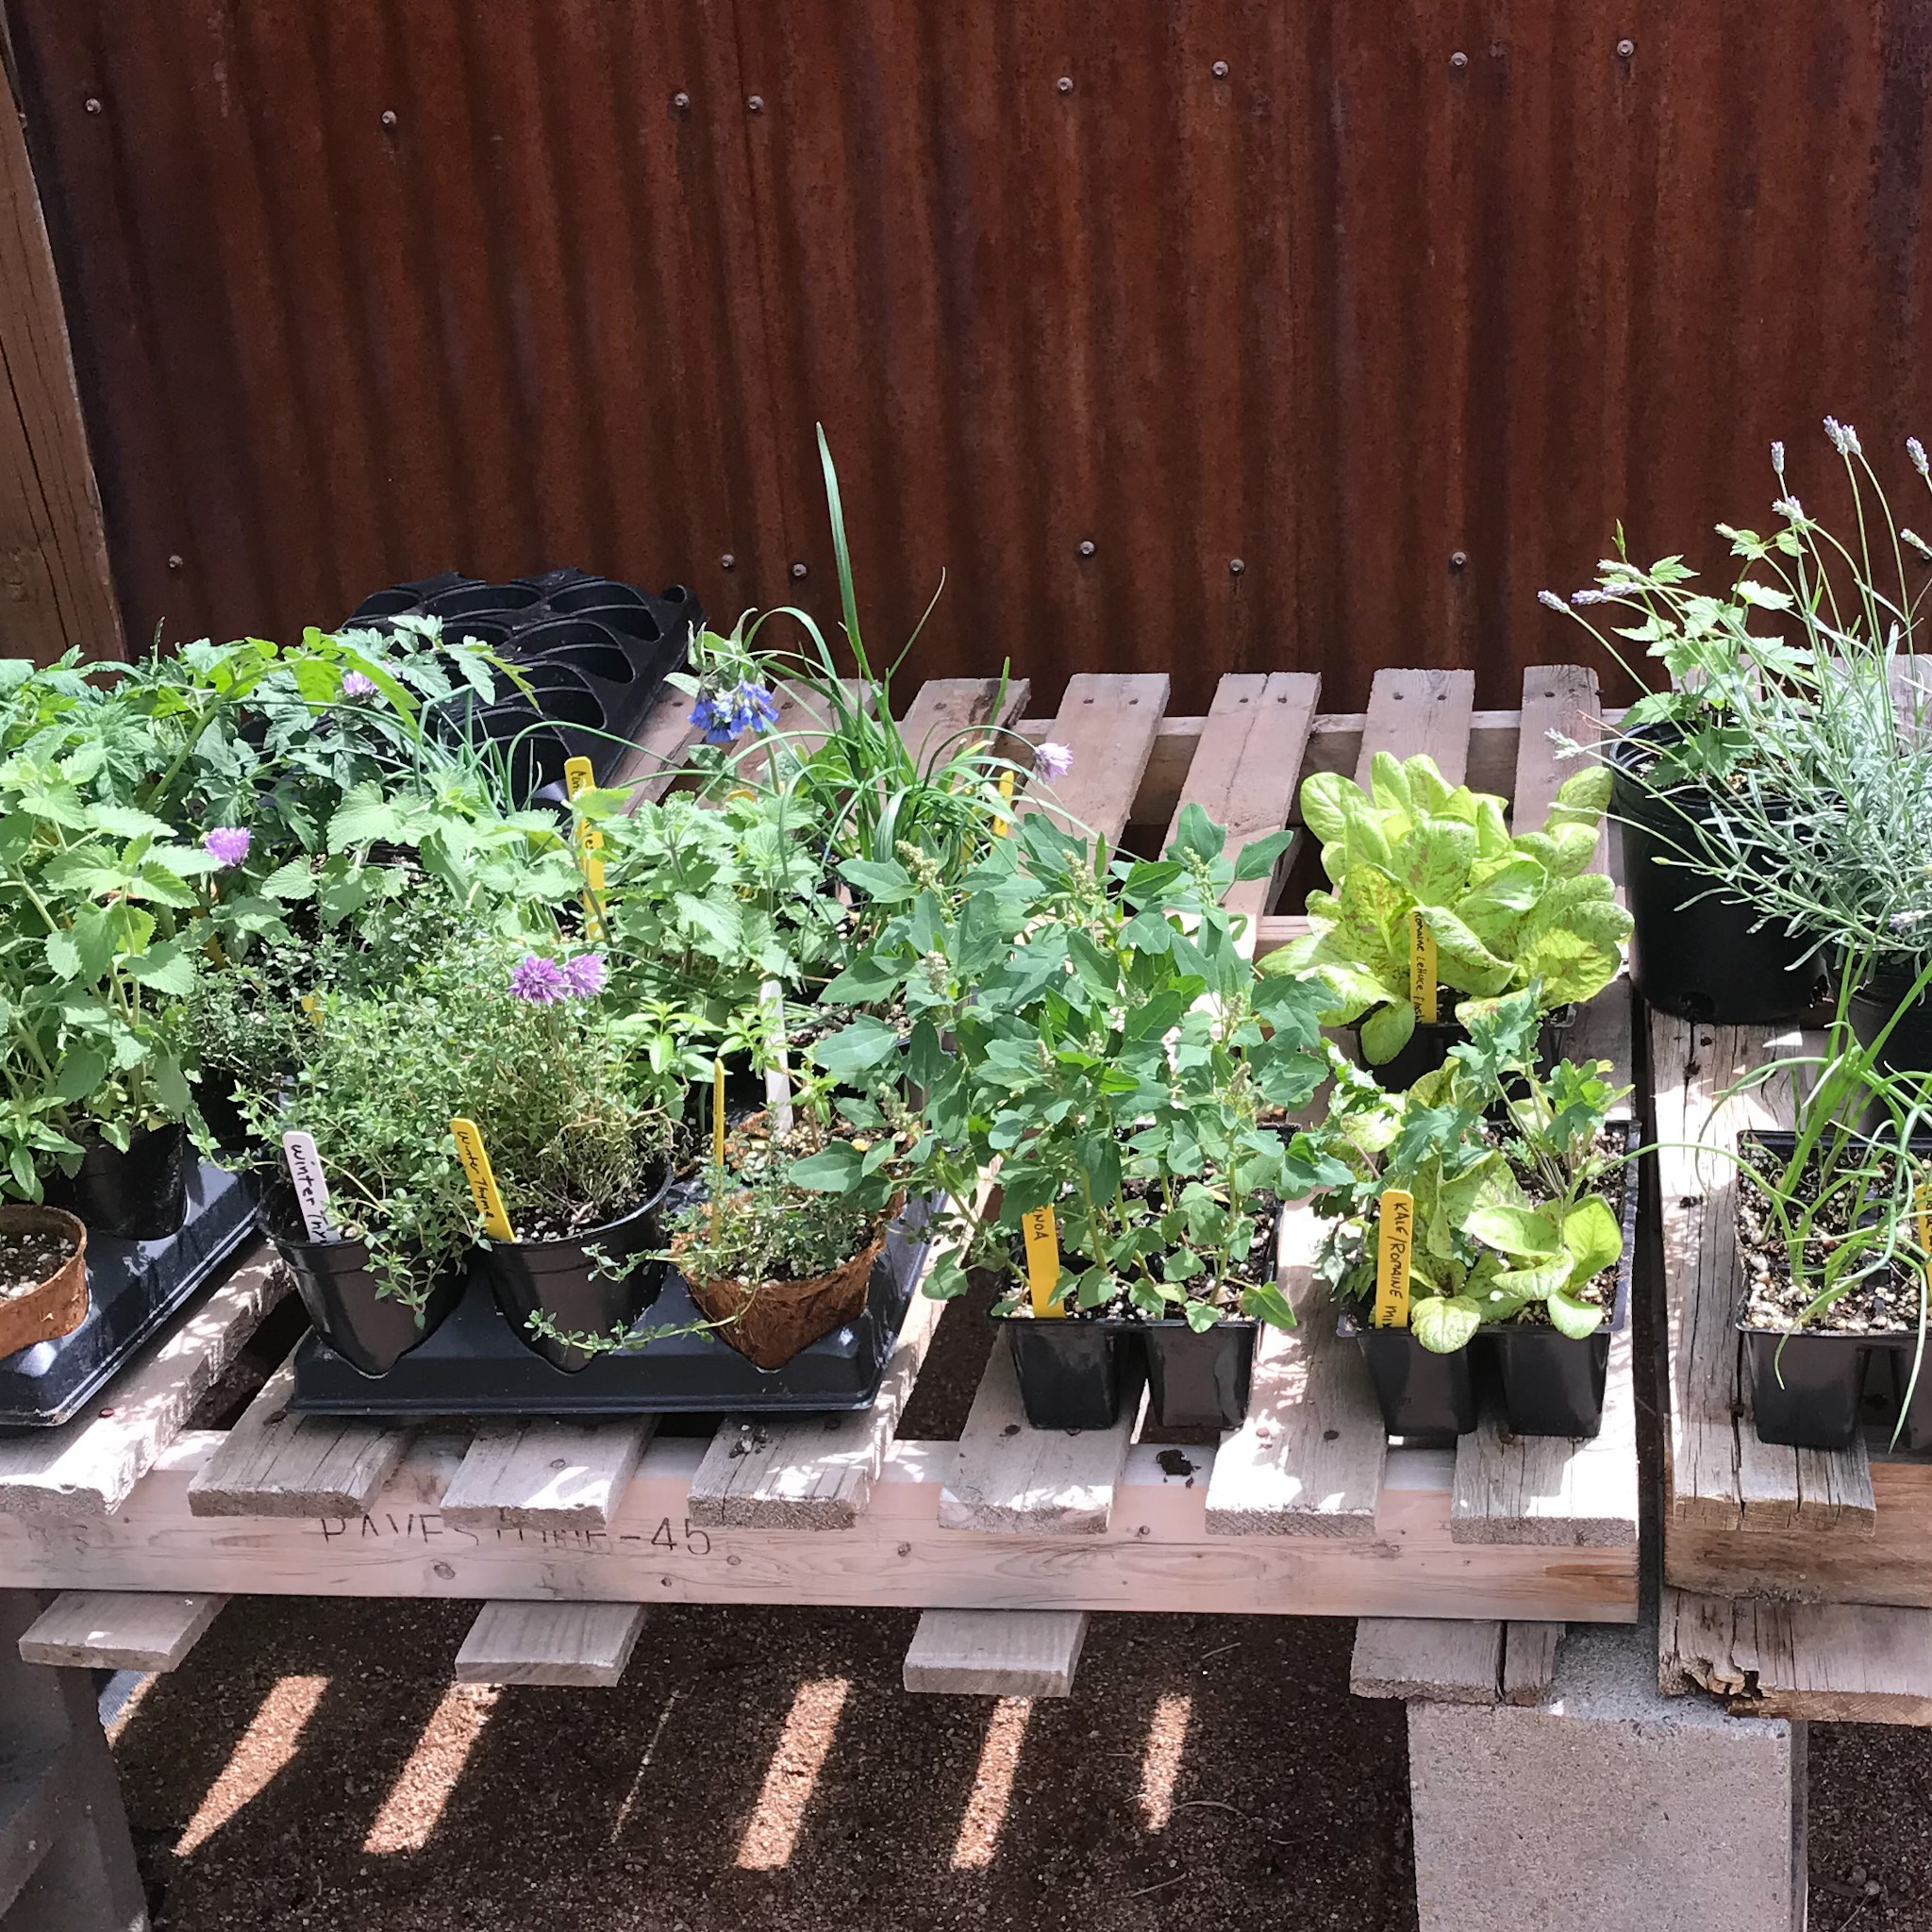
As your transferring date approaches, I suggest periodically bringing your plants outside to acclimate to the outdoors or what we call hardening off. This process should be done a week before transplanting. I like to start off the first couple days placing it in the shade for a couple hours at a time during the warmer part of the day. Then I gradually start to add it into the sunshine for longer periods. By the end of the week the plants will be ready for the great outdoors.
Happy planting! If you have any questions please feel free to ask questions below or email us at [email protected]. Send us some sprouting or veggie pictures through social media @homsted_lifestyle
Leave a comment
Recent articles
View all
10 Tips to Begin Foraging for Food or Medicine

A Sip Around the World: Tea Traditions Part 2
