Making Mead
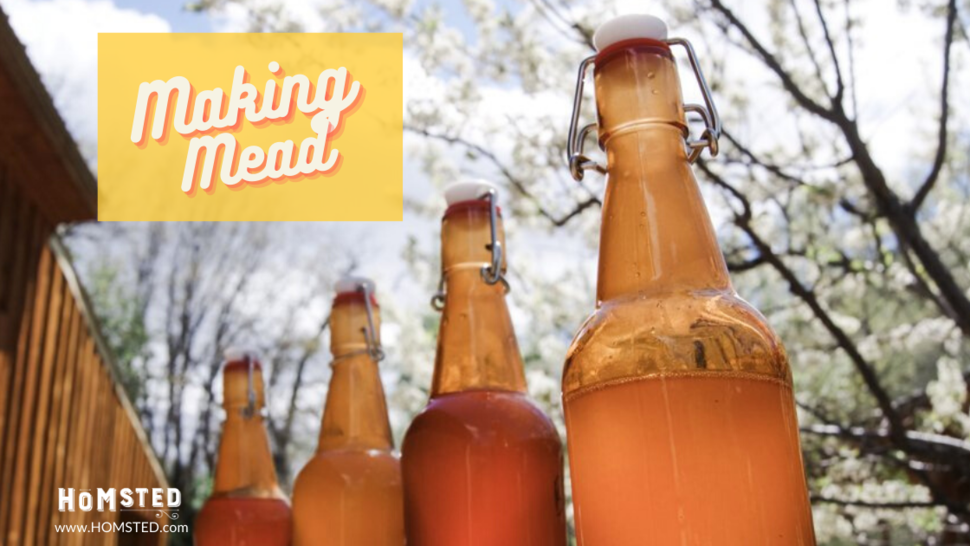
If you like to ferment, then you almost have to love mead. It can be supremely simple to make, and yet, some of the most dedicated and skilled fermentation specialists spend lifetimes creating complicated and masterful meads. For those exploring mead for the first time, remember this: Mead can be made, reliably, by doing nothing more than leaving a bucket of honey out long enough to collect a little rainwater, giving a couple of more weeks, and Shazaam! You’ve got mead. Naturally, you might want a slightly more controlled methodology so keep reading and we’ll go over the necessary ingredients, procedures and recipes to make mead to be proud of.
Honey
A somewhat sad truth of mead making is that if you want to make simple mead, you really need to get away from almost all common sources of honey, and even water. The reason mead is so simple to make is that honey has all of the necessary components to create a healthy fermented beverage; except for a little additional water. Honey naturally contains the necessary sugars, yeast and nutritional components to ferment. The reason honey doesn’t ferment on the shelf though, is that as long as the water content of honey is below 20%, the yeast are dormant. Boost that water content up a bit, and the yeast wake up a get right to work. But here comes the tough part. Most honey that you have access to is pasteurized… sterilized. No amount of water will resurrect those poor cooked yeast critters. The pasteurization of honey also destroys a multitude of beneficial enzymes and antioxidants that naturally occur in honey. Additionally, grocery store honey is often micro-filtered; a process that also removes all of the pollen particulates. It is those pollen particles that bring much needed proteins to the mix. To complicate matters, you can’t really trust when a bottle of honey is labeled as ‘raw’ or ‘unfiltered’, as the FDA allows honey to be labeled as ‘raw’ even though it has been heated. Even temperatures of 104F destroy beneficial enzymes (like invertase) and neutralize antioxidants. For this reason, it is very important to find true, raw, unfiltered honey if you can. If you only have access to processed honey, do not despair. There are certainly options for making wonderful mead. Just read on…
Yeast
As we mentioned earlier, raw honey contains plenty of Saccharomyces cerevisiae, the yeast needed to produce an alcoholic ferment. Just remember that even brief heating of honey to temperature over 120F will kill the yeast. Simply adding water to raw honey will activate the yeast and initiate fermentation. If you are using honey that you know or suspect to be pasteurized, simply toss a bit of yeast into the honey water and you’ll be good to go. Using brewers yeast is best, but in a pinch, bread yeast works too.
Water
Water is another ingredient that should be simple but isn’t. Almost all city tap water no contains at least one chemical agent to inhibit microbial activity. Most commonly, chlorine is used. Fortunately, boiling water in a pot for a few minutes should volatilize most chlorine. Chlorine also evaporates from water if left to sit, at room temperature, in a container with large surface area (i.e. a pot, not a narrow mouth container) for a few days. It is also easily removed by certain filters. However, it is exactly this ability to easily remove chlorine from water that has led some municipalities to add cholamines, rather than chlorine, to water supplies. Unfortunately, chloromines are much harder to remove. They don’t readily boil away, will not naturally evaporate and are more difficult to filter. To remove chloromines, you’ll need to use Campden tablets (available at any home brew supply store). Optionally, you can opt to use bottled water that lacks either of these additives.
Botanical Additions
Simple mead is a wonderful beverage, particularly so if used from fragrant and fresh honeys. The honey alone can bring a rich variety of aromas and flavors to mead. However, using additional botanicals is a fascinating way of creating new and exciting brews. Entire books have been devoted to the endless number of recipes and variations one can try when making botanical meads. Melomels are meads made with fruit. Pyments are grape wine with added honey, or vice-versa: mead with grape juice added. Cysers are mead made with apples. The list goes on and on with many cultures across the world specializing in specific mead styles. I encourage you to have fun. See the recommended reading below for books containing an incredible array of recipes.
Making Mead
There is no standard mead recipe. Just as beer and wine are created by different ratios and varieties of grain, hop, and grape, even the simplest mead can be made dry (less sweet) or sweet, aged or young, naturally fermented or with wine yeast. But, if I must, I’ll provide this ‘rule of thumb’ for starters: 1 lb of honey in 1 gallon of water yields and ABV (alcohol by volume) of about 5%. More honey can increase alcohol content but leaves more residual sugars for a sweeter brew while lower honey content ferments quicker for a lighter, dryer brew. Aging mead also changes its flavor profile considerably. I’ve have mead aged a few years that are simply outstanding.
Regardless of your specific recipe, here is my recommended procedure for making simple mead:
(1) Start with clean containers and utensils. Measure your honey and pour in the fermenting vessel. This vessel can be a simple pot and lid, a fermentation container made for beer or wine, or a large mason jar with an airlock. Note: the more access outside air has to your ferment, the more vinegary your brew will be. This is due to the ubiquitous presence of Acetobacter bacteria in the air.
(2) Warm the water (not hot, about 90-100F) and add about half to the fermentation vessel. Stir or swirl until the honey is dissolved.
(3) If using brewers yeast, add it to the container according to the instructions provided with the yeast (usually just sprinkle on top).
(4) If using an airlock, place it on the fermentation vessel. Place in a warm part of the house. Start waiting…
After about 24 hours, you should see tiny bubbles forming. This is a great sign and means your fermentation is active. If using brewers yeast, your ferment should start a little quicker and be more vigorous than if letting the ferment start naturally. You can, optionally, sir or agitate the ferment every few days but I have personally found this step unnecessary. A few days or a week after the last sign of fermentation, bottle the mead. Optionally, add about an ounce of honey per gallon before bottling to have the mead self-carbonate in the bottles. If carbonating, allow another week or so before trying. I recommend opening that first bottle outside, just in case they are over-carbonated. Mead is a tricky thing to clean off the ceiling! Most meads age very well and can continue to improve for years. Lastly, and most importantly, keep brewing and never stop experimenting and enjoying your unique creations.
Recommended reading
-For all modes of fermentation, I very highly recommend Sandor E. Katz’s The Art of Fermentation. Katz is an expert and his well researched book is one of my most often referenced books. Wild Fermentation, by the same author is an equally valuable, if not more abbreviated reference for fermenters.
-Another highly recommended read is Pascal Baudar’s The Wildcrafting Brewer. The pictures alone are worth the purchase, but the recipes within are highly motivating and downright inspirational.
-For a mead-specific reference, try Jereme Zimmerman’s Make Mead Like A Viking.
Leave a comment
Recent articles
View all
10 Tips to Begin Foraging for Food or Medicine
A Sip Around the World: Tea Traditions Part 2

Comments
The only tip I have is to check your yeast and make sure that it is fresh and active. Also if you filter with too fine of a filter it can filter out the yeast leaving you with no carbonation. Typically Mead isnt carbonated, so if you would like a more carbonated version, you may have to add CO2 to get the fizz.
Have fun experimenting and good luck!